An important activity in the industry is guaranteeing the operational integrity of key components. An example of this is provided by the Non-Destructive Tests (NDT) performed to ensure that the material of which the components are made is in good condition, thereby guaranteeing correct operation.
One of the most widely used methods is the Eddy Current (ET) technique , this being due to its high sensitivity and speed. This technique allows for the detection of large and small discontinuities in the entire volume of the material to be inspected and for efficient diagnosis of its integrity. Examples of application are the Inspection of nuclear power plant steam generator tubes and of the tube bundles of condensers or heat exchangers at any type of industrial plant. Other inspections that are effectively addressed by ET include aeronautical structures, turbine keyways, railway bogie frames, flanges, threads, nuts and bolts, extruded profiles and semifinished materials in the thermal power, nuclear, petrochemical, aeronautical and automobile industries.
The above requires the use of specific equipment and probes ensuring the correct detection of deformations, cracking, manufacturing defects, geometrical changes or measurement of the oxide layer on in-service components exposed to corrosion.
What are Eddy Current Probes?
Probes are components that make up the eddy current inspection set, along with the instrument, software and calibration tubes. Generally speaking, the probe is an elongated tube (flexible or rigid), on the end of which is mounted the inspection coil, which induces a current in the conducting material. Located at the other end is the electrical connector for connection to the equipment. Detection is accomplished by analysing variations in the magnetic field created by the coils exciting the material.

Probes are a vital component of ET inspections because of the need for them to be specific for each type of tube and the large number of them required, due to the large number of tubes that normally have to be inspected.
Eddy Current Probes and sensors are manufactured for different sectors, such as the power, industrial, aeronautical and automobile industries, the applications of these probes being highly diverse. One of the most significant advantages is the fact that the probes may be made to measure for a wide range of applications, adapting to the geometry of complex components. In addition, thanks to the optimisation and adaptability of the probes, it is possible to detect increasingly complex defects in the items inspected in the most adequate manner.
What type of probes does Tecnatom manufacture?
Tecnatom designs and manufactures a large number of Eddy Current Probes covering the needs of all types of inspections and different inspection area configurations:
- Conventional Eddy Current Probes: These are made up of two coils generating in absolute and differential modes. The absolute mode detects long and gradual defects (progressive erosion, wear…), while the differential mode detects smaller and more localised defects (specific leaks, pitting or cracking of a specific tube).
- Rigid probe format: highly robust and appropriate for straight tubes. This provides a high inspection rate.
- Flexible probe format: articulated probe capable of passing through the curved area of tubes. It maintains signal quality along the entire length of the tube thanks to its centering elements.
- Far field probes: these are used for ferromagnetic tubes and are made up of two magnetic field emitters and two receivers operating in the absolute and differential modes. They detect slightly more significant point-specific defects than the previous probes.
- Rigid probe format
- Flexible probe format
- Miniature probes
- Wrap-around probes: These perform inspection of the material from the outside, for example in the case of rods and elongated semifinished items.
- Rotary probes: This inspection technique consists of having the inspection coils rotate inside the tube perpendicular to the surface. A miniature motor is always required. This technique may be used to detect minor defects such as cracks. A three-dimensional map of the tube may be generated.
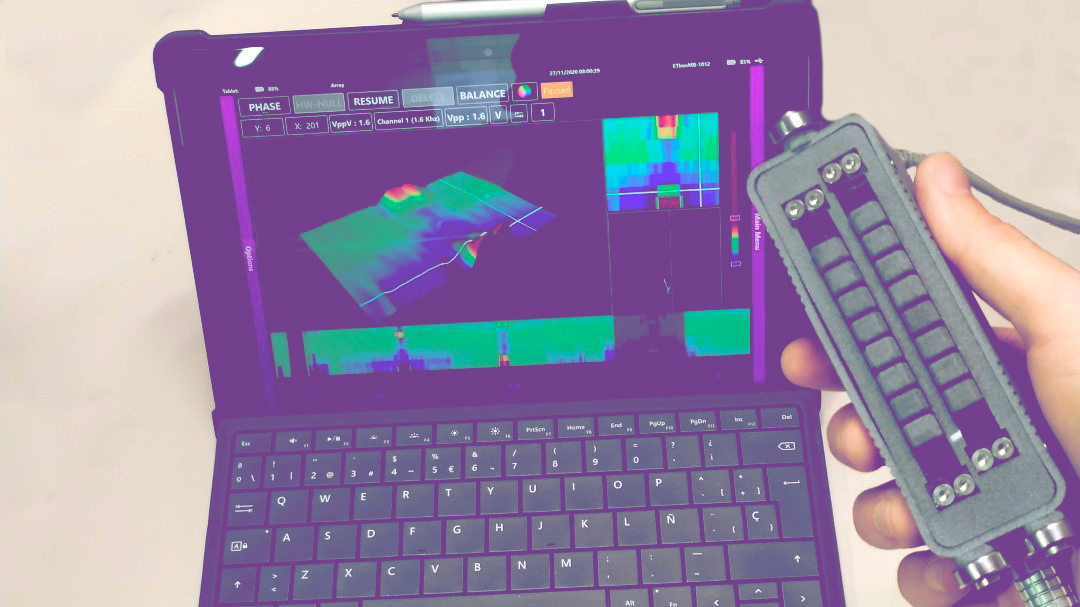
- Array probes: These are used to obtain a highly advanced digital record of the integrity of the tube or surface to be examined. The result is similar to that obtained using rotary probes, the only difference being that there is no mechanical element moving through the tube and that inspection speeds are higher than with rotary probes.
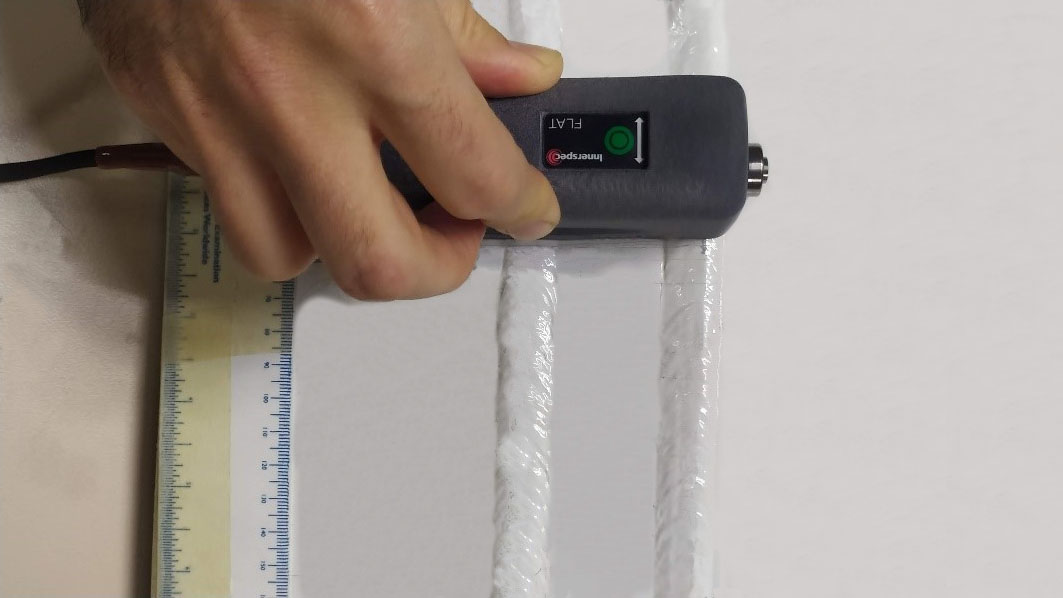
- Feeler type probes: These are adapted for manual inspections using portable acquisition equipment such as the ETboxMB. They are widely used for inspections in the aeronautical sector. This type also includes probes for the measurement of coatings and conductivity.
- Customised designs: These are designed to adapt to highly specific geometries. An important breakthrough in recent times has been manufacturing using 3D sintering, which greatly reduces customisation costs and simplifies design.
If you have found this article interesting and would like more information on Eddy Current Probes or have any queries, please do not hesitate to send us your comments or contact us via the social media. We would be happy to respond.
Author: Efrén León


